1. Identify The Focus
Although the center is named, the focus does not have to be the object that is in the center of the photo or be the object that occupies most of the image.
2. Fill The Frame
The best way to tell a story in a picture is to occupy the frame with “something” so it becomes the center of attention. It is a common mistake to want to stuff too many things in a single picture. In the end, what we get is a photo with no focus or no story. When in doubt about whether or not something should come out in the picture, just take it out.
3. Lean On The Lines
The bay lines are an essential element in the picture. The lines give us shapes and contours. With the lines, we draw the viewer’s eyes from one part of the picture to another. The horizontal, vertical, and diagonal lines are compositional elements that provides meaning to images. This directs the viewer’s gaze to the point of convergence.
4. Work Flows
Flow is the way in which the viewer moves from one part of the picture to another. One way of defining the flow of a picture is by using lines. They can be vertical, horizontal, diagonal, diverging, or converging. The viewer should be able to loop through the items from one place to another. The flow creates the illusion of movement (or no movement if desired). Diagonal lines are generally considered “dynamic”, whereas vertical and horizontal lines are considered more “static”.
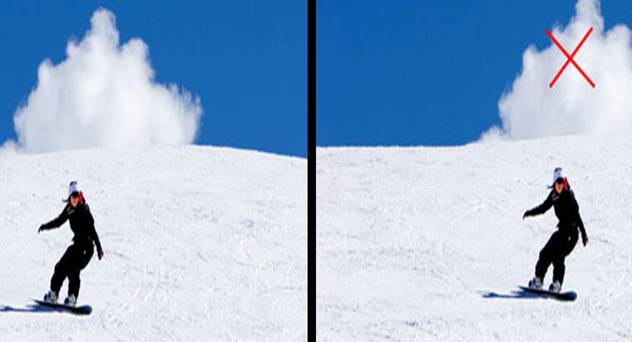
5. Play With The Direction
The snowboarder is similar to the flow direction. It also creates the false impression of movement. When there is something in the picture that appears to be in motion, keep the background objects in the image consistent. This figure conveys movement because we can see the static image a second later on the other side of the picture. Similarly, a person about to cross a street while his arms and feet do not move can still portray a sense of movement. It is important that the moving elements seem to enter the picture, leaving more space in the direction of motion. Otherwise the route is cut off and it would look like we were late in taking the photo.
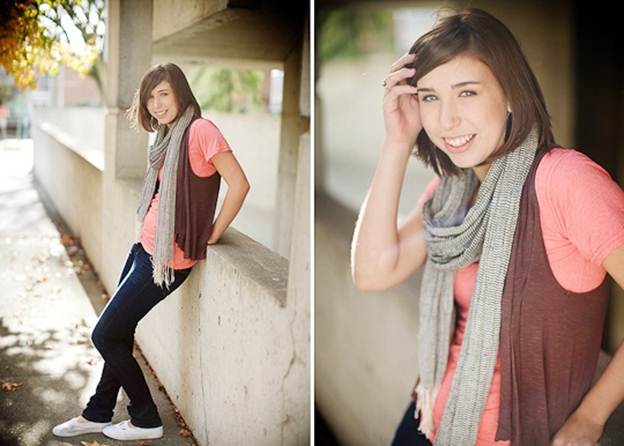
6. Follow The Gaze
As seen in the previous rule, the person or animal that looks towards a certain direction should be located on the side away from its gaze, so that the free space in the direction of where its looking is drawn out. This rule is very useful in portrait photography. Apply it to create better compositions.
7. Repeated Elements
The bright white roses have a repetitive element, giving a sense of relationship to the different parts of the image. For example, a flock of birds may be moving in the air, defining interesting shapes in the sky and adding information on the direction of photography. Sometimes you can provide psychological factors, such as the sense of togetherness and companionship.
8. Colors Always Say Something
The sunrise has two types of colors, warm and cold. Red, orange, and yellow are part of the warm palette. Blue, green, and violet are on the side of the cooler colors. There are many psychological elements linked to colors. For example, consider the blue calm colors, while the reds are more temperamental. Colors play a decisive role in the composition.
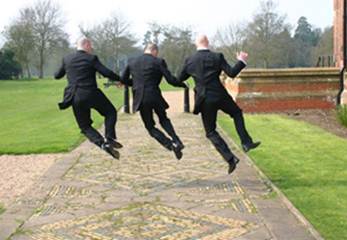
9. Groups Of Three
Three boys jumping for a wedding photo looks unique and wholesome, but why three? A single element can convey loneliness or isolation, while two elements can make an image well balanced but static, and four may be too many elements to distribute. For some reason you cannot explain to people why we like the number 3. Ultimately, photography usually works in the sum of three elements as the center of interest.
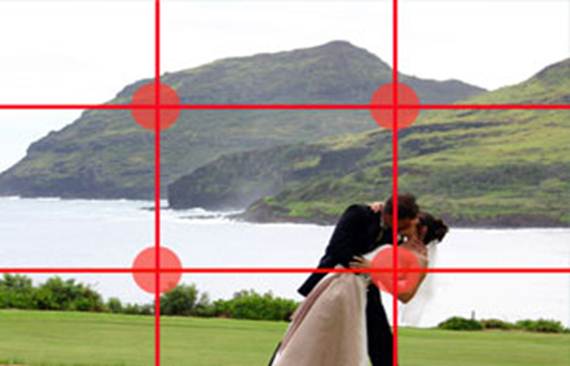
10. Rule Of Thirds
For the rule of thirds, imagine you divide a picture into grids of equal size 3×3, four grid intersections within the box. The 4 points of intersections indicate the photographer what areas are the most appropriate to place the objects you want to be the center of interest. In case there are two points of interest, you would try to place the subjects on opposite sides.
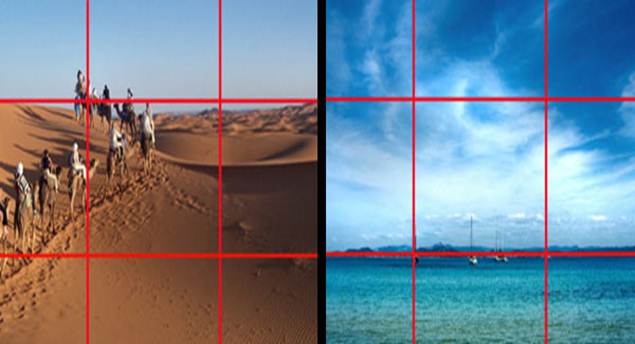
11. Catch The Horizon
Derived from the rule of thirds, this basic rule tells us where we should place the horizon in a photograph. Placing the horizon in one of the strong horizontal lines, either in the bottom or the top, is usually the most effective, but never in the center of the image where we usually put it instinctively.
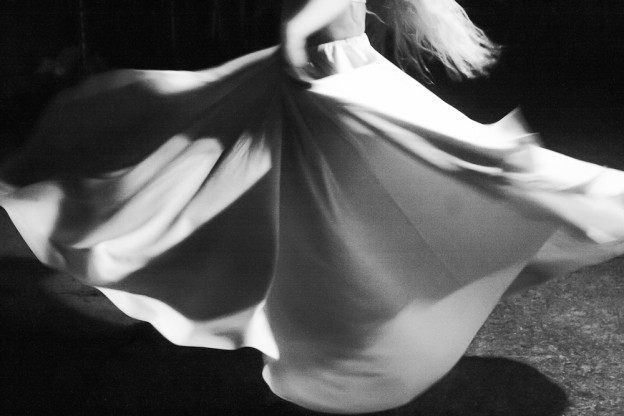
12. The Negative Space
Large empty negative space, usually in black or white, are usually on the sides of an image. The remoteness of the central element of the image, filling out the rest of the photo of an empty space, allows us to transmit additional information of loneliness, isolation, or calm to the image. Although it is not a resource that we will often use, it is worth knowing.
13. Working Three Dimensions. Foreground And Background
The front and back of a photo are both important aspects. The important thing about the foreground and the background is that there is too much detail that distracts the viewer’s eyes. The best tool we have for the difference between the front and back of our photos is the depth of field. Thanks to the aperture we use when taking pictures, the background won’t stand out as much.
14. Framing Nature
The building’s framing elements can help put a framework to focus the picture. Some of these elements are very clear, completely covering the photo, such as doors, windows, or bridges. Others act as a way to orient our view. This is the case of traffic signals or tree branches. Anything that “encloses” the focus will allow us to frame the photo, drawing attention to the desired item.
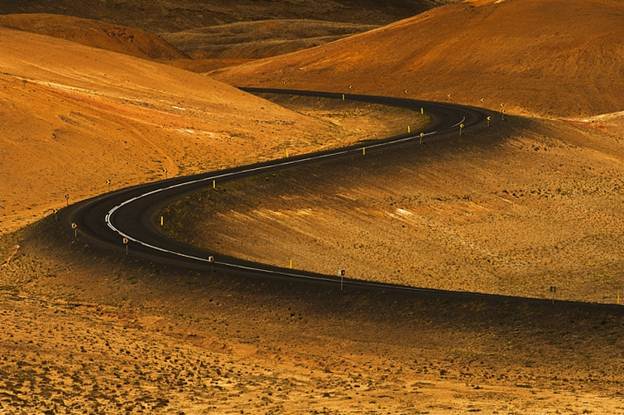
15. Curves In S
The curves in the letter “S” are very powerful visual elements that gives an interesting element to photos. It is associated with sensuality. It also transmits motion and helps define the different levels in an image. A highly priced camera is not the deciding factor for being a professional photographer. The most important factor is to learn and practice. If you maintain these hacks or tips in your daily practice, after some time you could become an amazing photographer as well. For some lazy learners like me, you can take advantage of your apps on your mobile devices, such as PowerCam, which can offer numerous effects to preview before you capture an image. Featured photo credit: Levitation Photography/sinuskumar via flickr.com